
This article provides a step-by-step guide for integrating Okta with VIP Software’s SSO system using SAML 2.0. Follow these instructions to enable seamless authentication for your users.
Prerequisites
Before starting, ensure you have:
- Administrative access to your Okta tenant
- A VIP Software account with SSO enabled
- Basic understanding of SAML 2.0 authentication flow
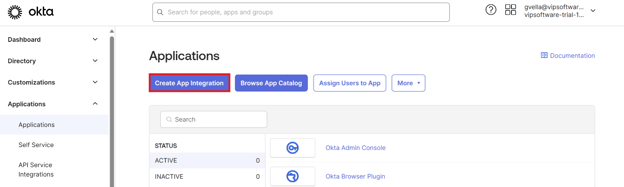
Step 1: Access Okta Applications Dashboard
- Log into your Okta Admin Console.
- Navigate to Applications.
- Click Create App Integration.
Step 2: Choose Integration Method
- Select SAML 2.0 as the sign-in method.
- Click Next.

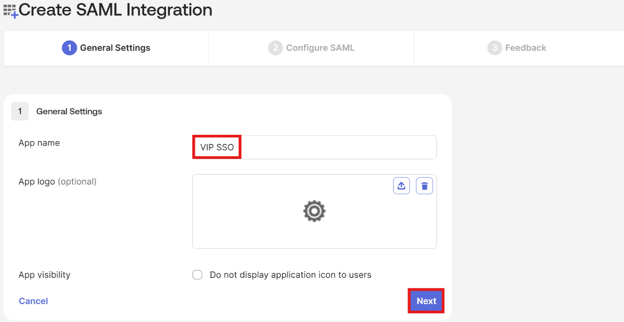
Step 3: Configure General Settings
- Enter VIP SSO as the application name.
- Optionally upload a logo.
- Configure visibility settings.
- Click Next.
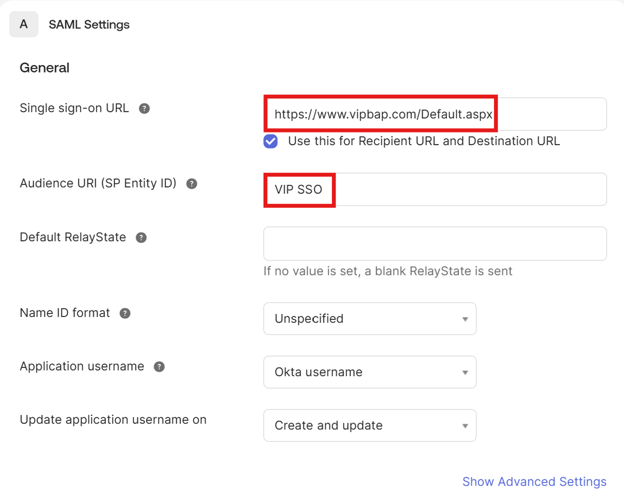
Step 4: Configure SAML Settings
Fill in the following fields:
- Single Sign-On URL
- Staging:
https://www.stagingnew.vipbap.com/Default.aspxhttps://www.staging.vipinvision.com/Default.aspx
- Production:
https://www.vipbap.com/Default.aspxhttps://www.vipinvision.com/Default.aspx
- Staging:
- Audience URI (SP Entity ID):
VIP SSO
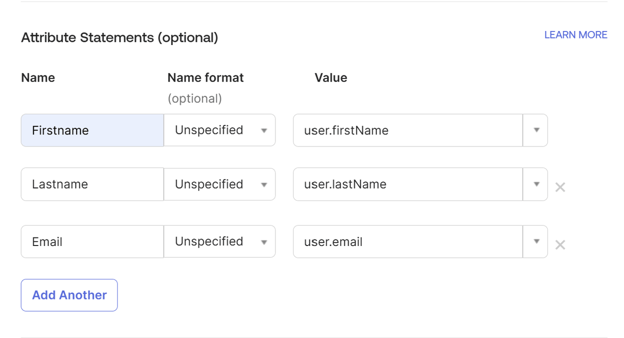
Step 5: Configure Attribute Statements
Add the following attributes:
| Name | Value |
|---|---|
| Firstname | user.firstName |
| Lastname | user.lastName |
user.email |
Click Next, then Finish.
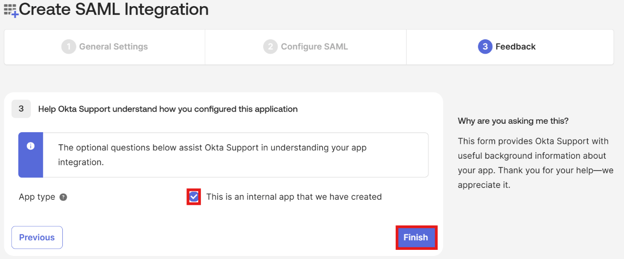
Step 6: Finalize Application Setup
- Check This is an internal app that we have created.
- Click Finish.
Step 7: Gather Required Values for VIP Integration
Navigate to your newly created application and collect the following:
- Audience Restriction
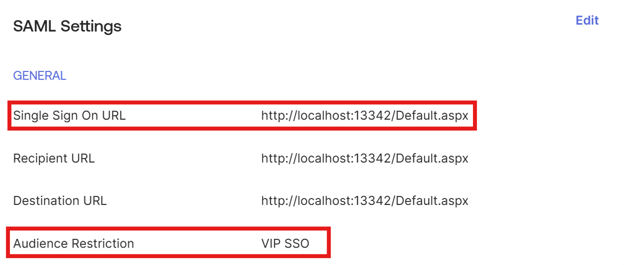
- SSO URL
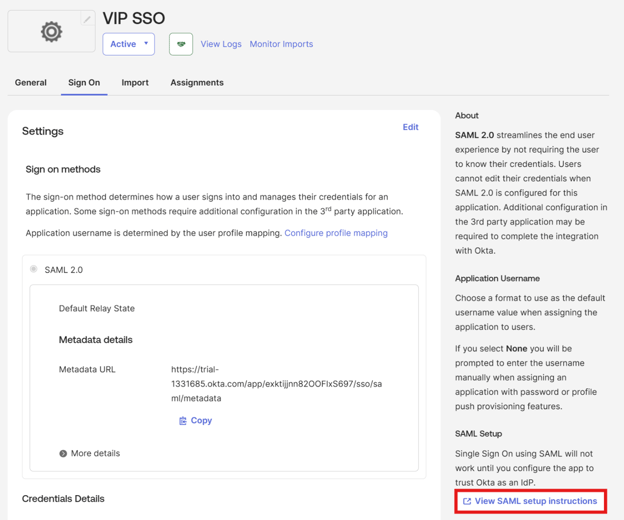
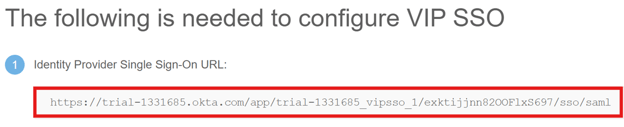
- IDP SSO URL
- IDP Issuer

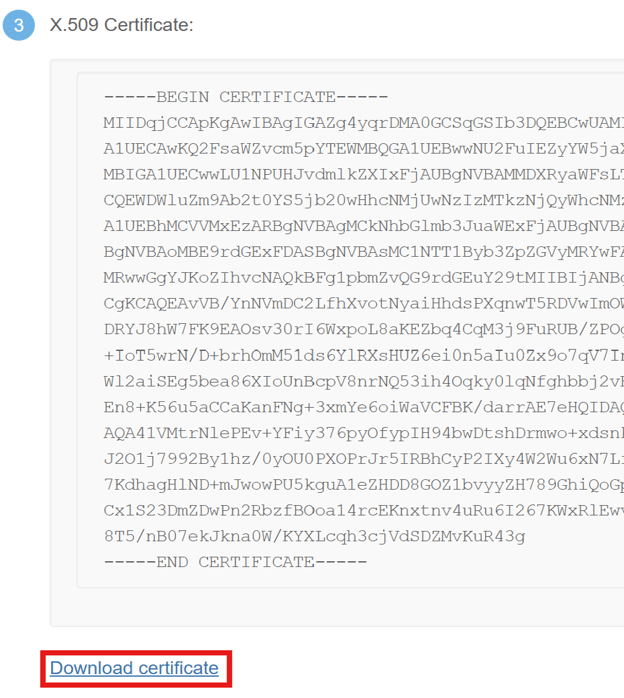
- Signing Certificate
Step 8: Create and Assign Users
- Go to Directory > People.
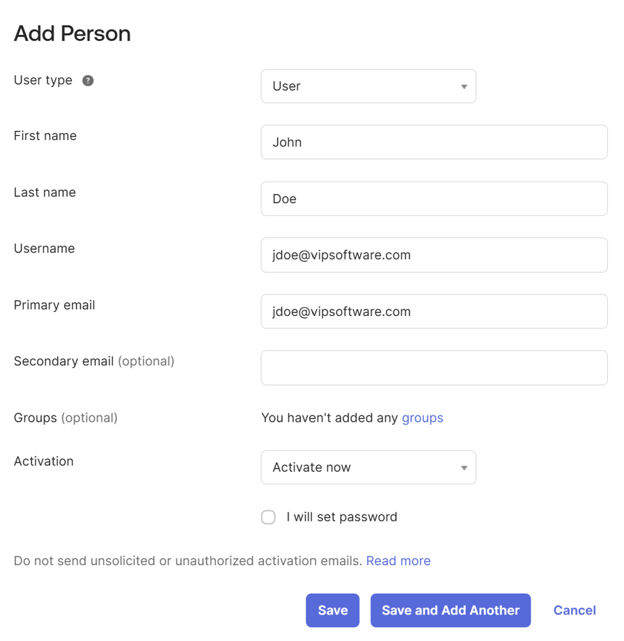
- Click Add Person.

- Fill out the user details and activate the account.
- Assign users to the VIP SSO application:
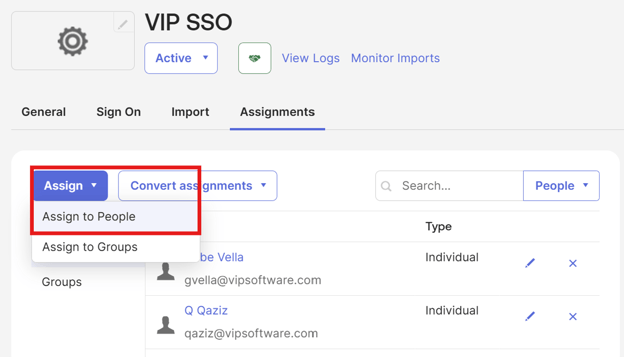
- Go to the Assignments tab.
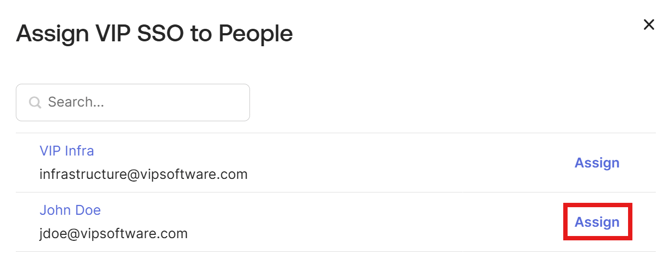
- Click Assign > Assign to People.
Step 9: Validate the Integration
Ensure the following:
- Application status is Active
- Users are assigned correctly
- SAML certificate is installed
- All endpoints are configured
Step 10: Test the Integration
- Access the VIP application.
- Initiate the SSO login.
- Authenticate via Okta.
- Confirm successful login and redirection.
Best Practices
- Use HTTPS for all SAML communications.
- Rotate certificates regularly.
- Implement session timeouts and error handling.
- Monitor authentication logs.
- Keep documentation updated.